- Review how the Aero-QuickBooks Time sync works.
- Navigate to Account Settings > Integrations and click the Connect to TSheets button.
- Click the Connect to Existing TSheets Account button. If you don't have a TSheets account, you can create a new one and connect it to Aero.
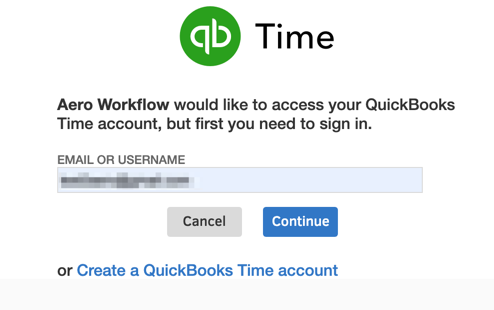
- Enter your username and click continue
- If you have an Intuit account, you will most likely need to choose "Sign in with Intuit" on the next screen

- If you are signing in with Intuit, log into your Intuit account as usual.

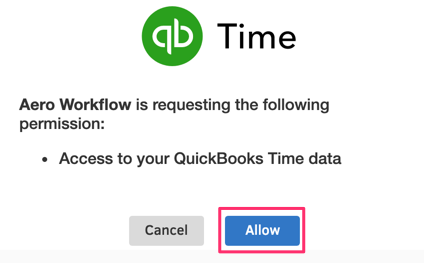
- Click Allow to connect your QuickBooks Time account to your Aero account.
- There are special considerations if you are syncing to both QuickBooks Time and QuickBooks Online (this is not recommended- It's much better to just sync directly to QuickBooks Online):
- Sync Aero to QuickBooks Online first by clicking the Sync QuickBooks Now button in the QuickBooks Online section of the Manage Integrations page
- Sync QuickBooks Time to QuickBooks Online in your QuickBooks Time account to make sure your Customer/Job list is the same
- The last step is to sync Aero to QuickBooks Time
- Read about best practices for syncing Customers (Jobs) with Aero.
- Start the first sync by clicking the Sync TSheets Now button. If you’ve connected your QuickBooks Time account to your accounting system (such as QuickBooks or Xero) very likely Advanced Tracking was turned on as part of the integration. If Advanced tracking is enabled, Aero will bring in the Service Items and Classes from QuickBooks Time. If Classes and Service Items are required in QuickBooks Time, then make sure that you have selected those for each Aero Type. Otherwise, your time entries will not sync to QuickBooks Time.
- During the initial sync, Aero will also bring in your QuickBooks Time Jobs* and Employees and will match Jobs to existing Aero Customers or create new ones. Learn more about the way the Customer (Job) sync works.
- If you want time to automatically sync from Aero to QuickBooks Time, navigate to Aero Settings > General Settings and check the Auto sync time box. Learn more about how the time sync works.
- Navigate to the Edit Team Member screen to match each Aero Team Member to the corresponding QuickBooks Time Employee. Choose the correct name from the QuickBooks Time Entity drop-down. Note that you can only select an existing QuickBooks Time Employee from the drop-down. New Employees are added in QuickBooks Time and then synced to Aero from the Manage Integrations page.

- If you have Service Items and/or Classes required in your QuickBooks Time account, edit your Aero Types so that each one is connected to a QuickBooks Time Service Item and/or a Class.
*Depending on what accounting system your QuickBooks Time account is connected to, you may see "Customers," "Jobs," or something else listed.
Comments
0 comments
Please sign in to leave a comment.