What is Zapier?
Zapier is pretty much the best thing to happen to the internet since – well since the internet happened. Zapier is a tool you can use to make more than 2,000 cloud apps work together. You can use it to automate tasks and eliminate duplicate data entry, saving you time and money.
For example, you can add a Zap that automatically creates a new appointment in Aero every time you add a new event to your Office 365 calendar. Look in Zaper for other automations you can create.
Connecting to your Aero account
The first time you create a Zap using Aero, you'll need to give Zapier permission to connect to Aero. You only need to do this once.
- Log into your Zapier account (if you don't have an account, you can create one in step two).
- Paste this link in the browser: https://zapier.com/developer/public-invite/15440/bc15522f63d0e542f5eb2858810b3d1c/
- Click the "Accept Invite & Build a Zap"
- The first part os a Zap is the Trigger. Currently, Aero can only be selected in the Action step, so you'll need to set up a trigger with one of 2000 other apps.
- Choose Aero Workflow as your Action app.
- Search for Aero in the app search bar
- Choose the Aero Workflow that is labeled "By Invite"
- Select the Aero Action you want to take. You can choose one these Actions in Aero:
- create Task
- create Task from Template
- create recurring Aero from Template
- create Task from Library Template
- create recurring Aero from Library Template
- create Appointment
- create Contact
- create a Company
- create Vault Entry
- create Contact
- create Note
- create email
- You'll be asked to select an Aero Workflow Account. Click Add a New Account
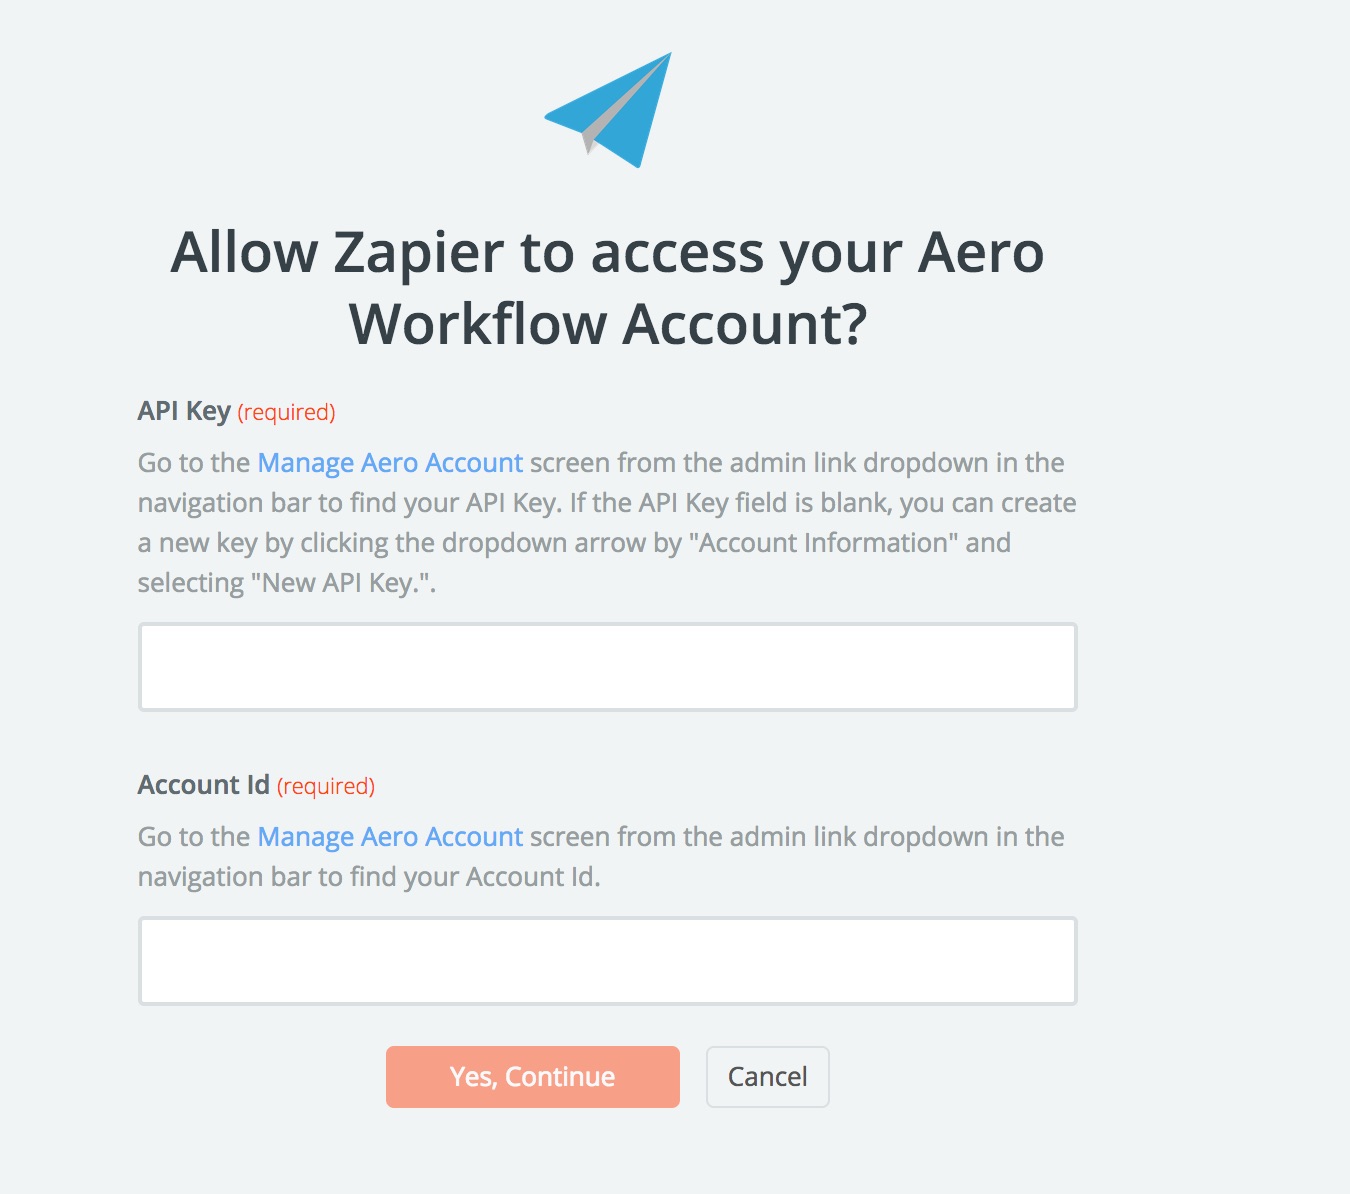
- A window will pop up asking for your API Key and Account Identifier.

- You must have a security level of an SL8 to access the Admin menu and get an API key. If you cannot access the Admin menu, you can ask your Aero account admin to give you the API Key and Account ID. You do not need to have an SL8 security level to use the Zapier integration. You can find your API key by navigating to Account Settings > Account Profile. If you don't already have an API key, you can create one. Note that you use the same API key for all integrations. If you already have an API Key listed, DO NOT create a new one.
- Your Account Id is located on the same page right above your API Key.
- Copy and paste the information and click the Yes, Continue button.
- Zapier will show the Name of the Aero account you're connecting to. If it looks correct, click the Test button.
- Set up your Template. This is where you match information from your Trigger app to fields in Aero. Make sure that you select or enter information for the required fields. You can leave any optional fields blank.
- When you finish setting up your Action, make sure you turn on your Zap!
Comments
0 comments
Please sign in to leave a comment.